How to use
3-minute video crash course
Pre-made templates
Getting started
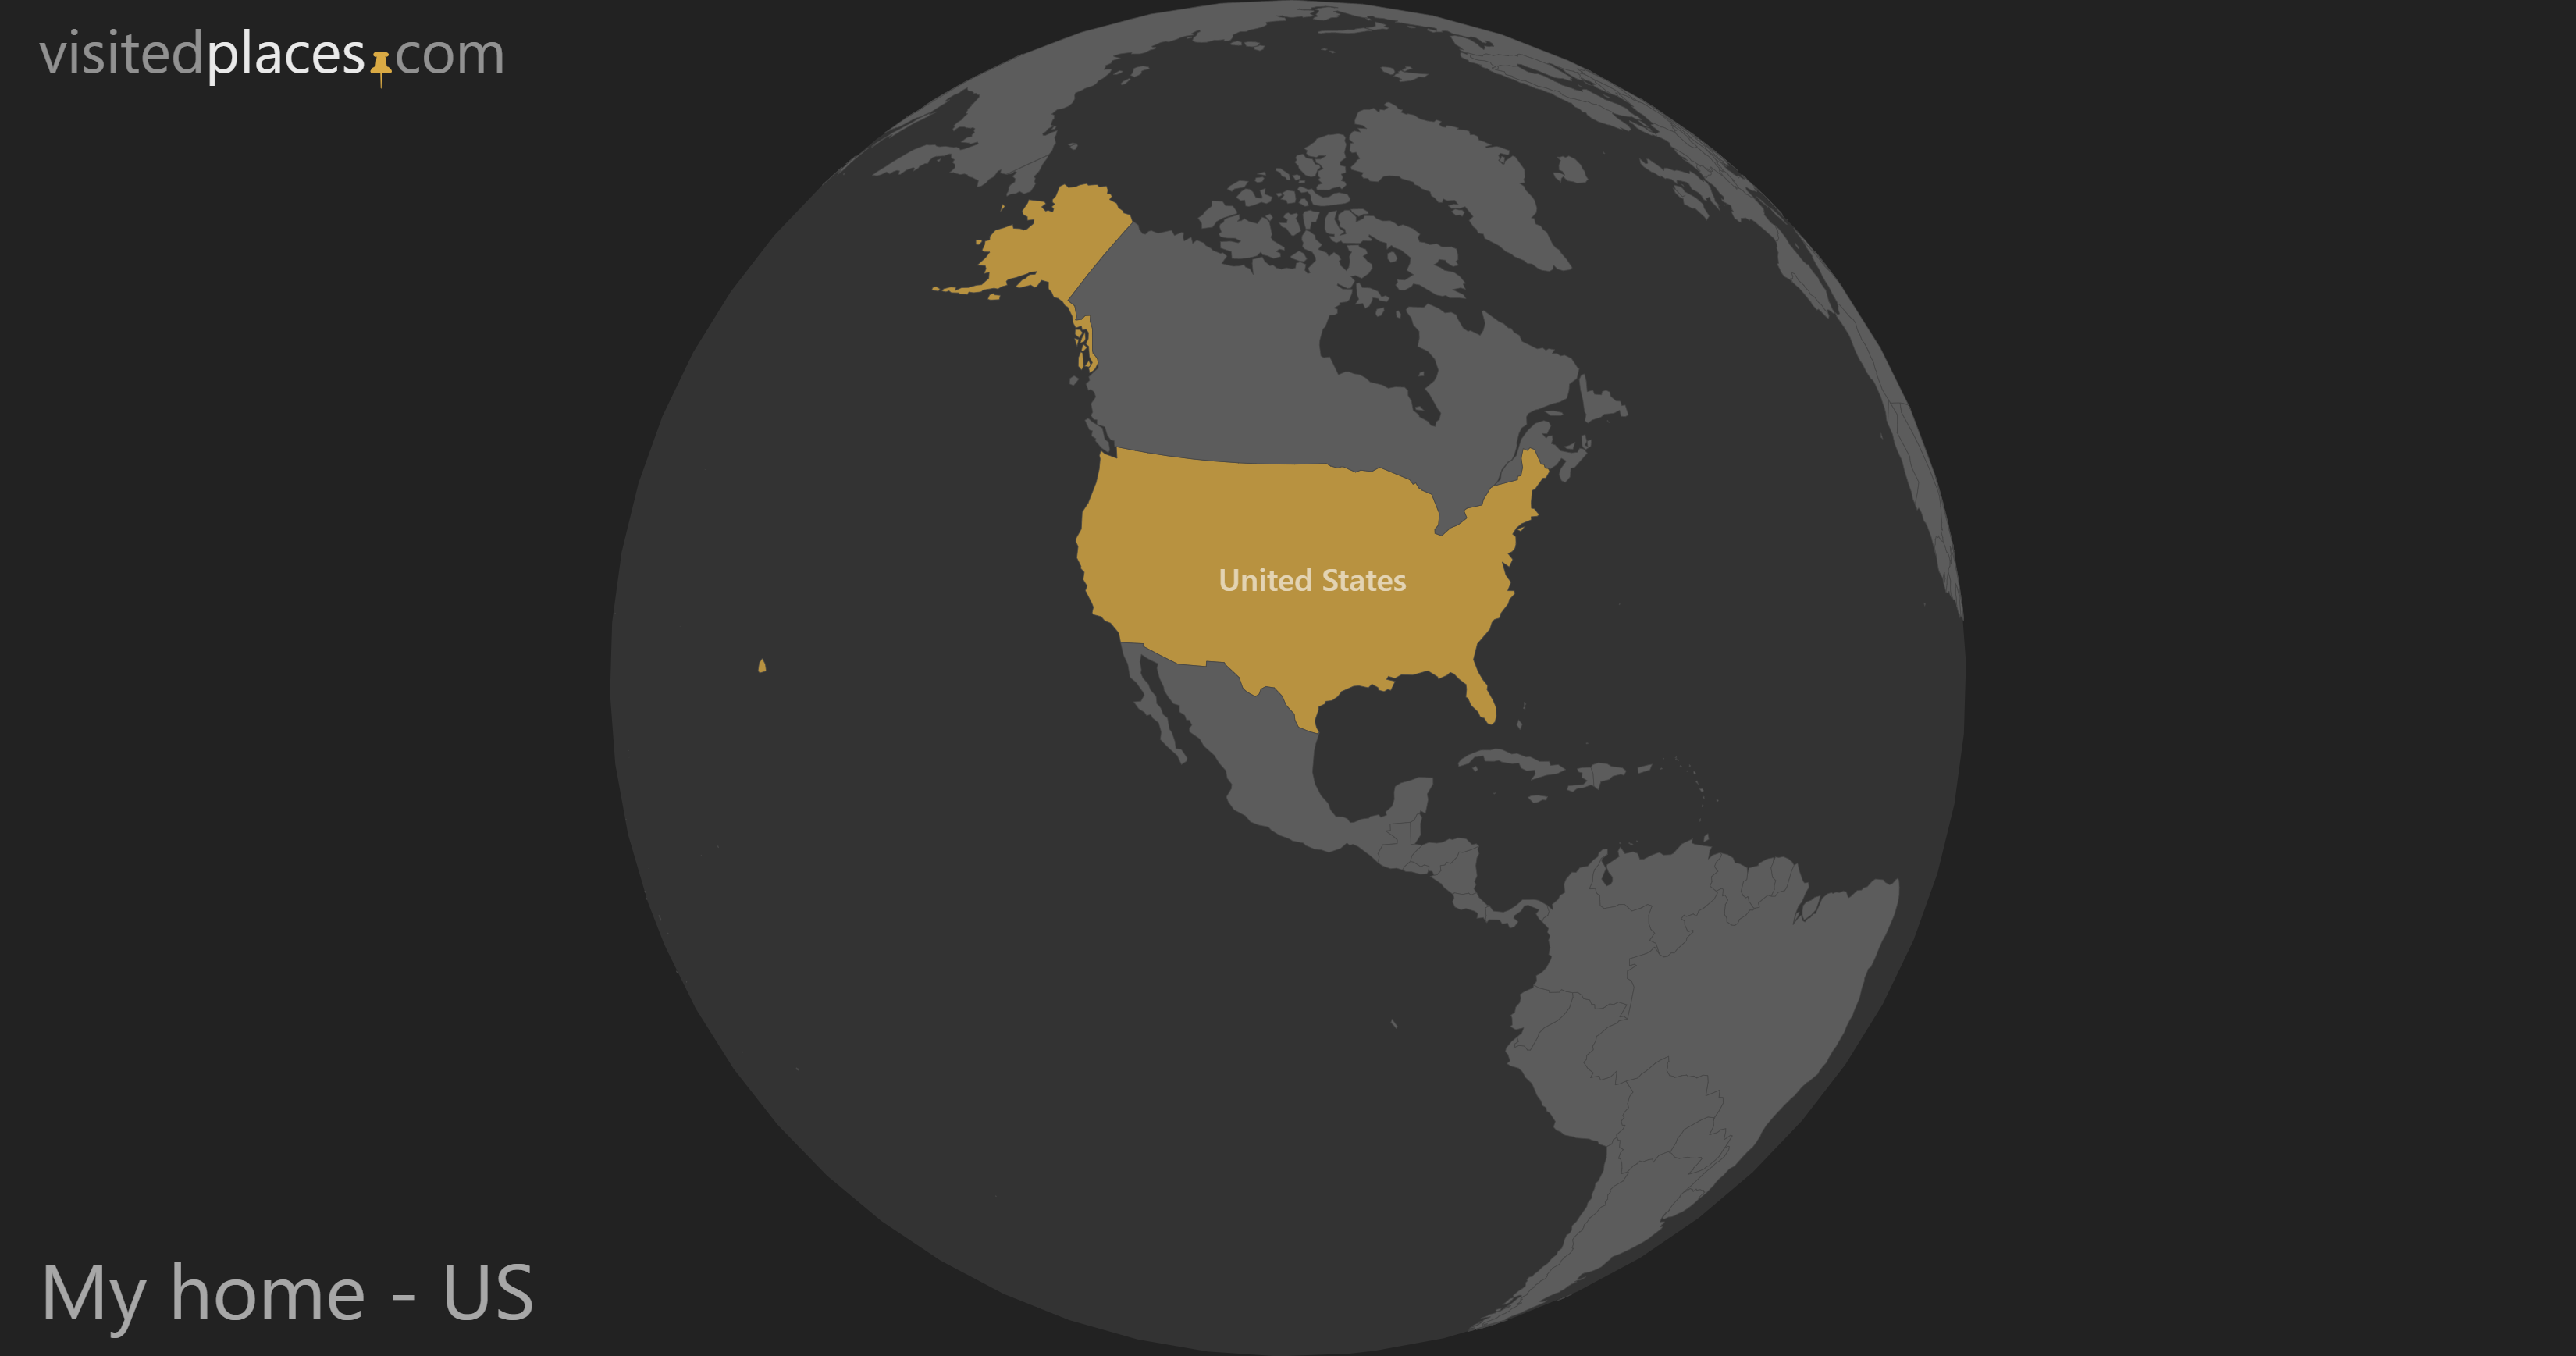
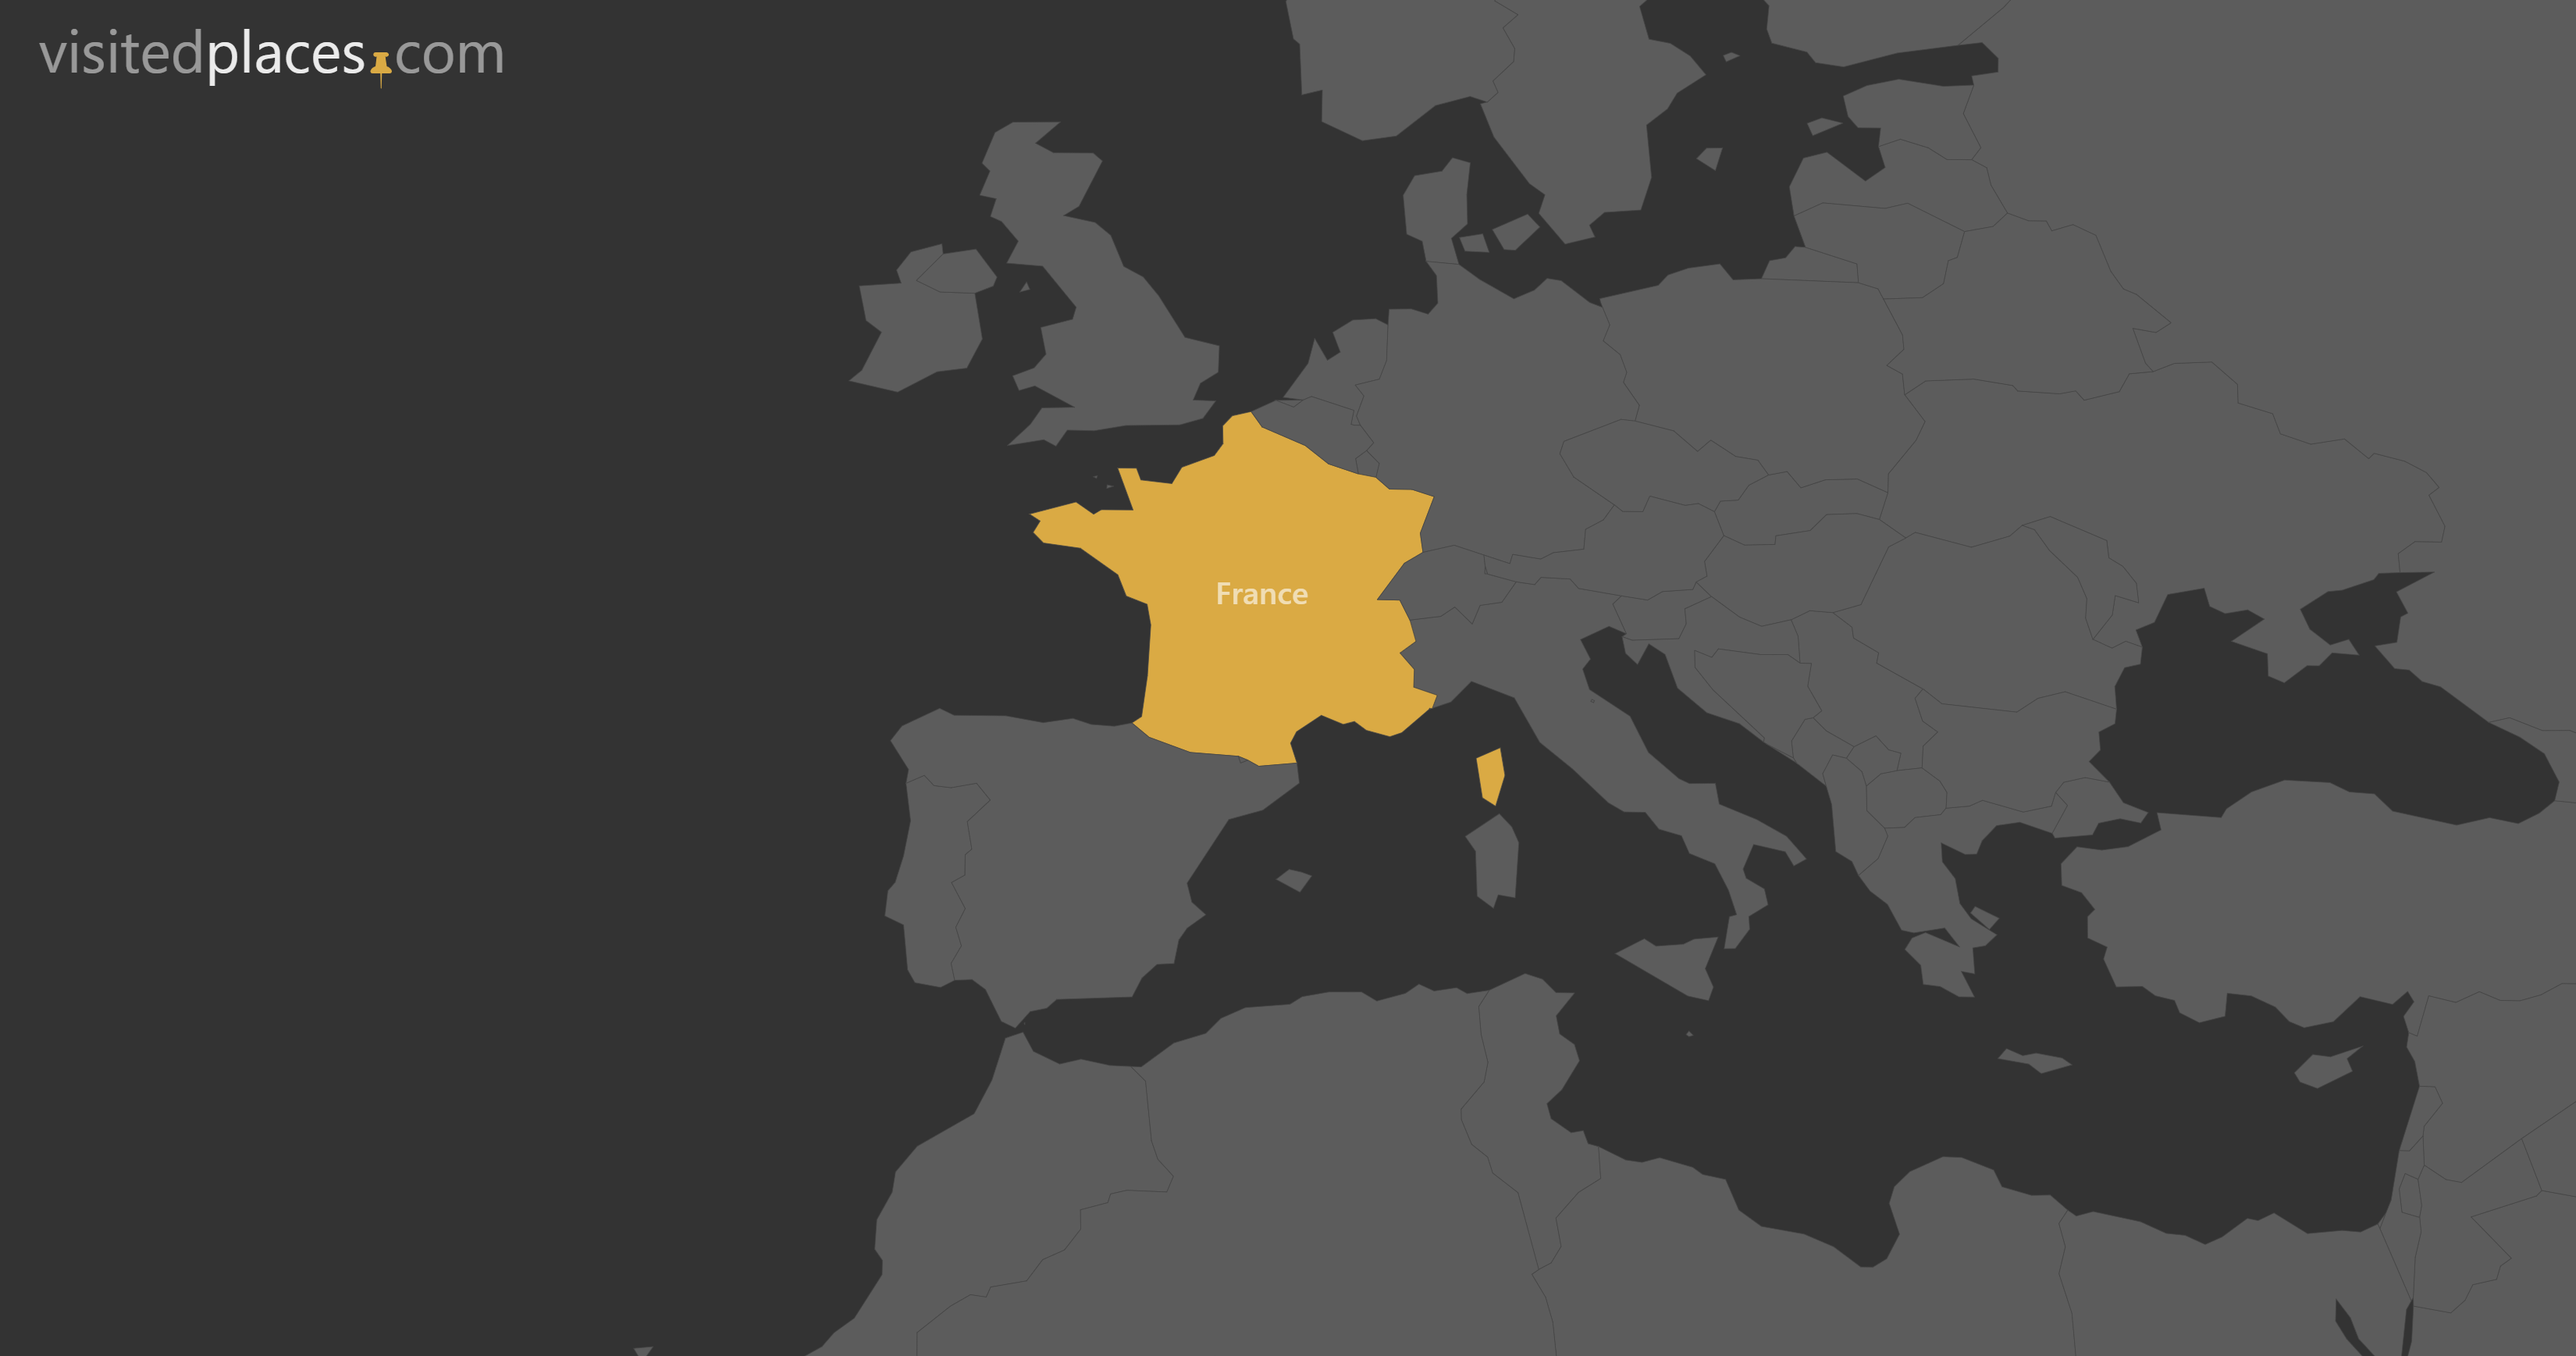
When you visit the website visitedplaces.com, you have the option to select either the world map or nearly any other country in the world. Once you've made your selection, simply click on the button to begin.
Choosing a projection
We recommend selecting a map projection first, as the zoom position you choose will depend a lot on the projection. You can choose from several options, including Orthographic for the globe and Mercator, which is commonly used but can distort areas close to the poles, making Antarctica appear much larger than it is. However, you can easily adjust the zoom level for all your steps, so don't be afraid to use the Mercator projection. Simply make sure that the area you want to highlight is visible or adjust the zoom level to make it so.
Selecting countries
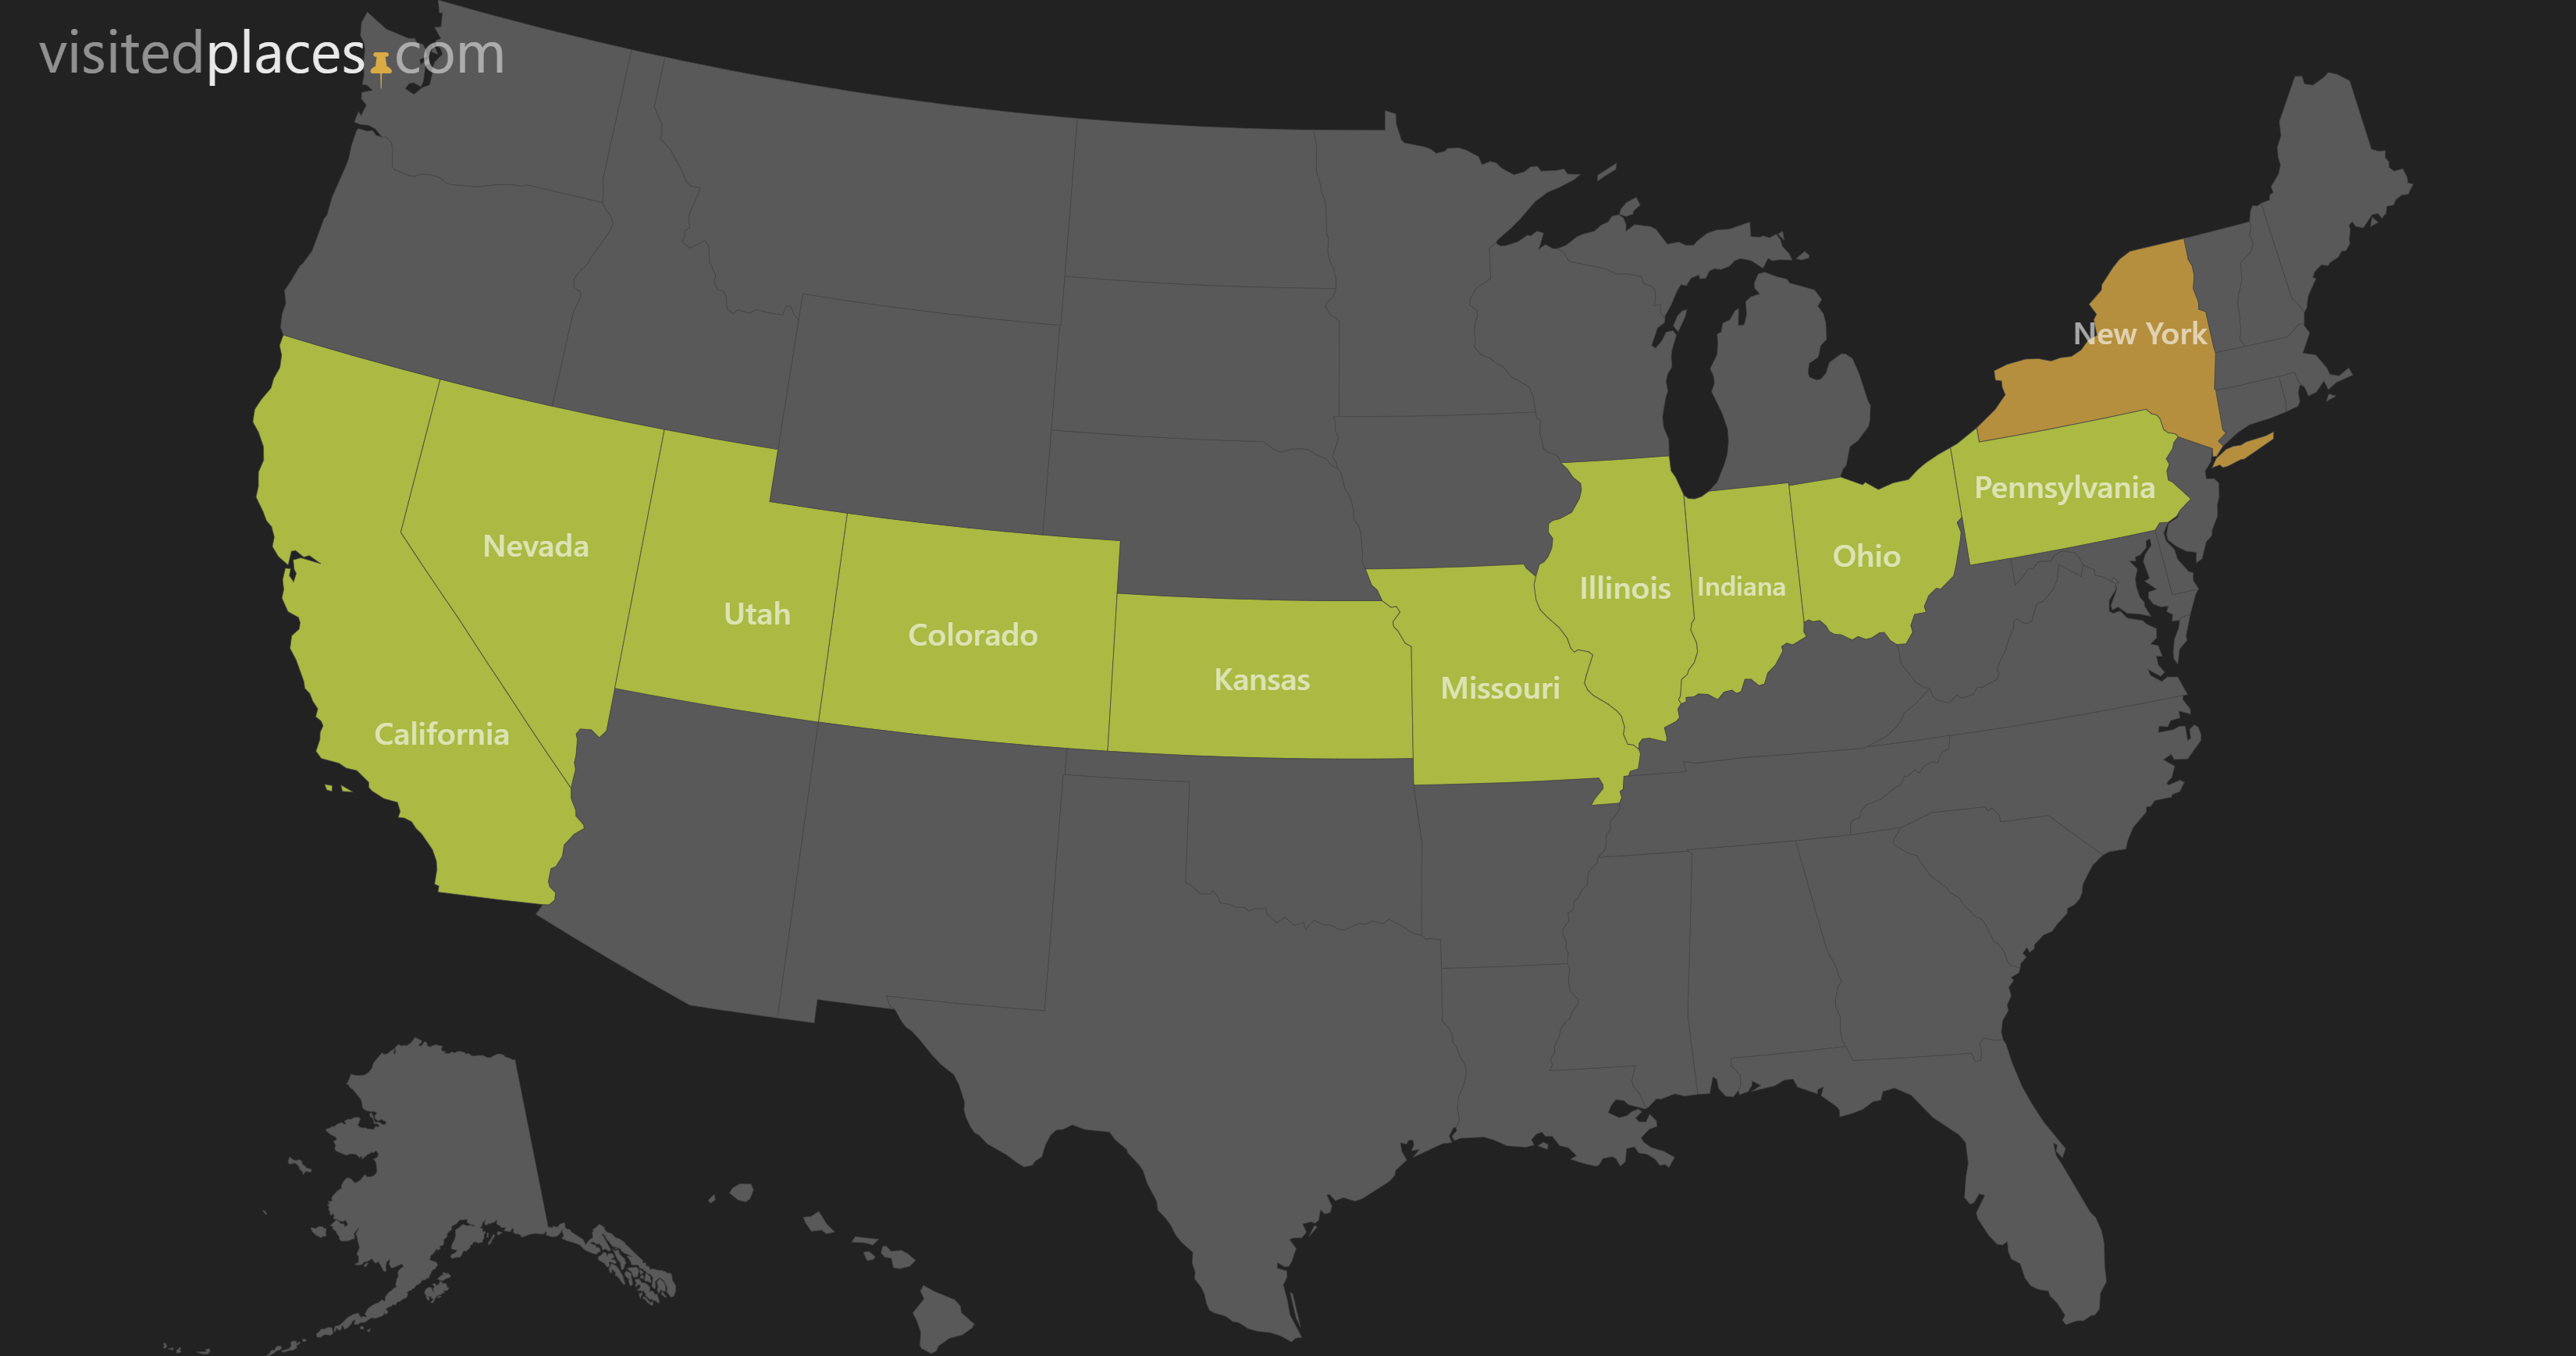
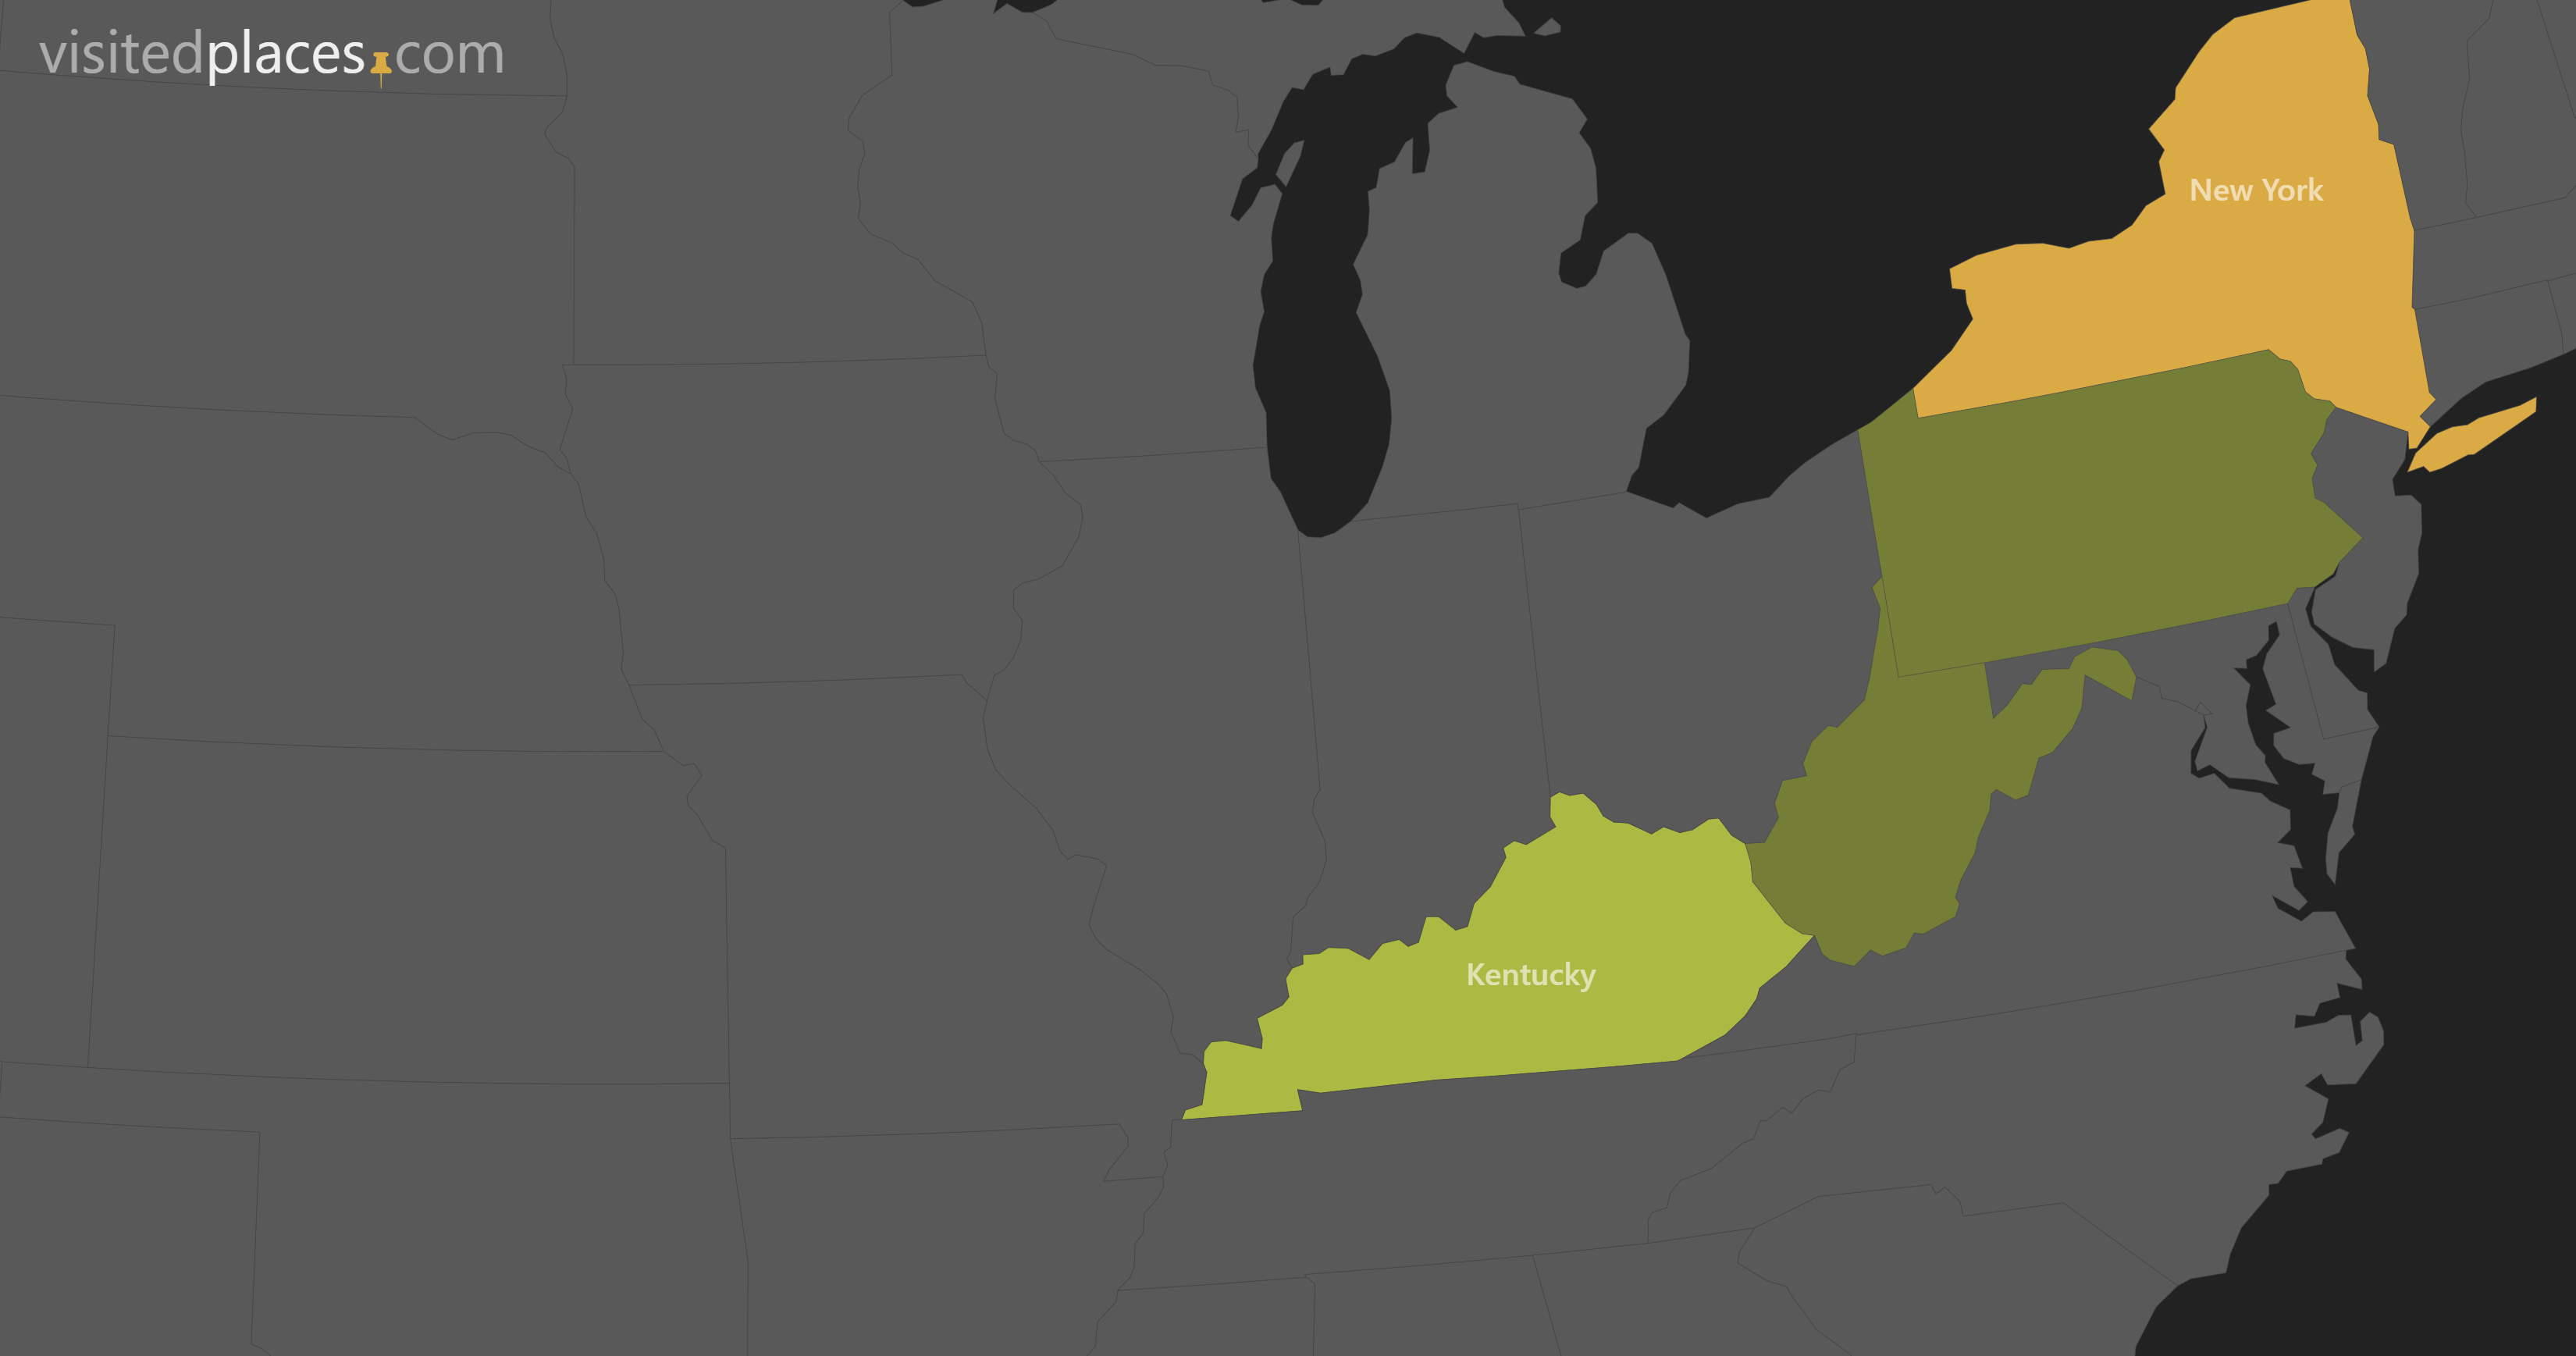
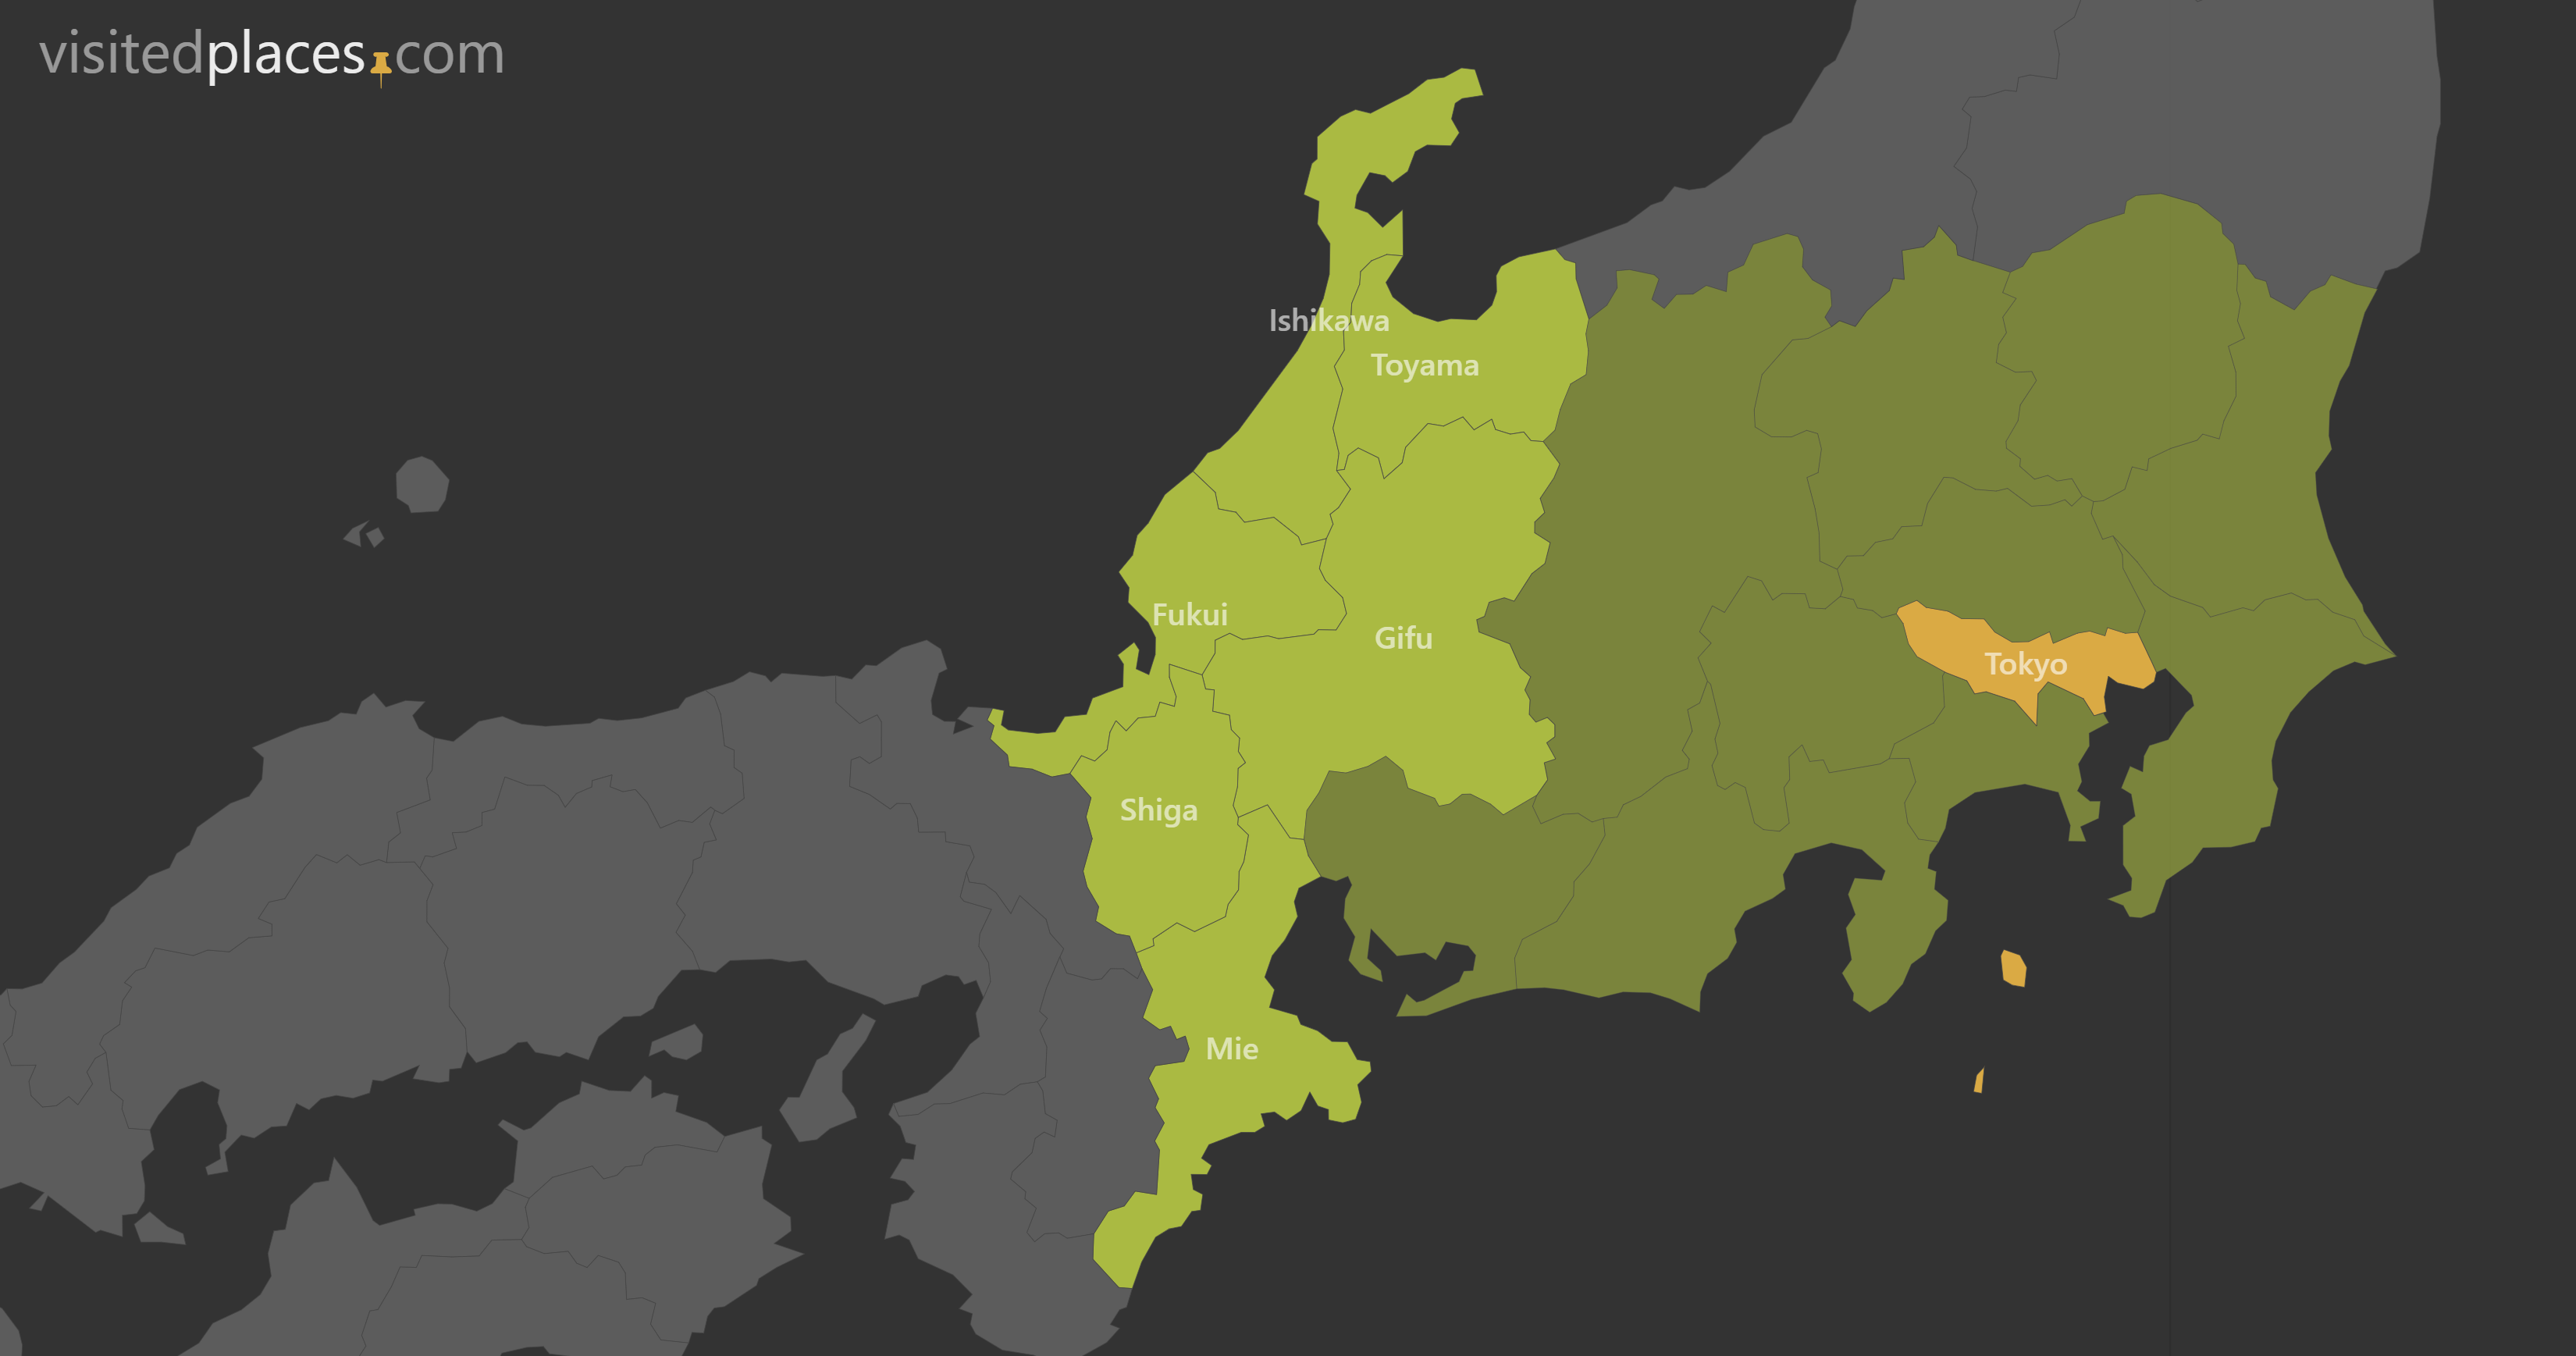
If you're looking to create a simple map that displays all the places you've visited at once, simply start clicking on the map or search for and select the places you've visited from the list.
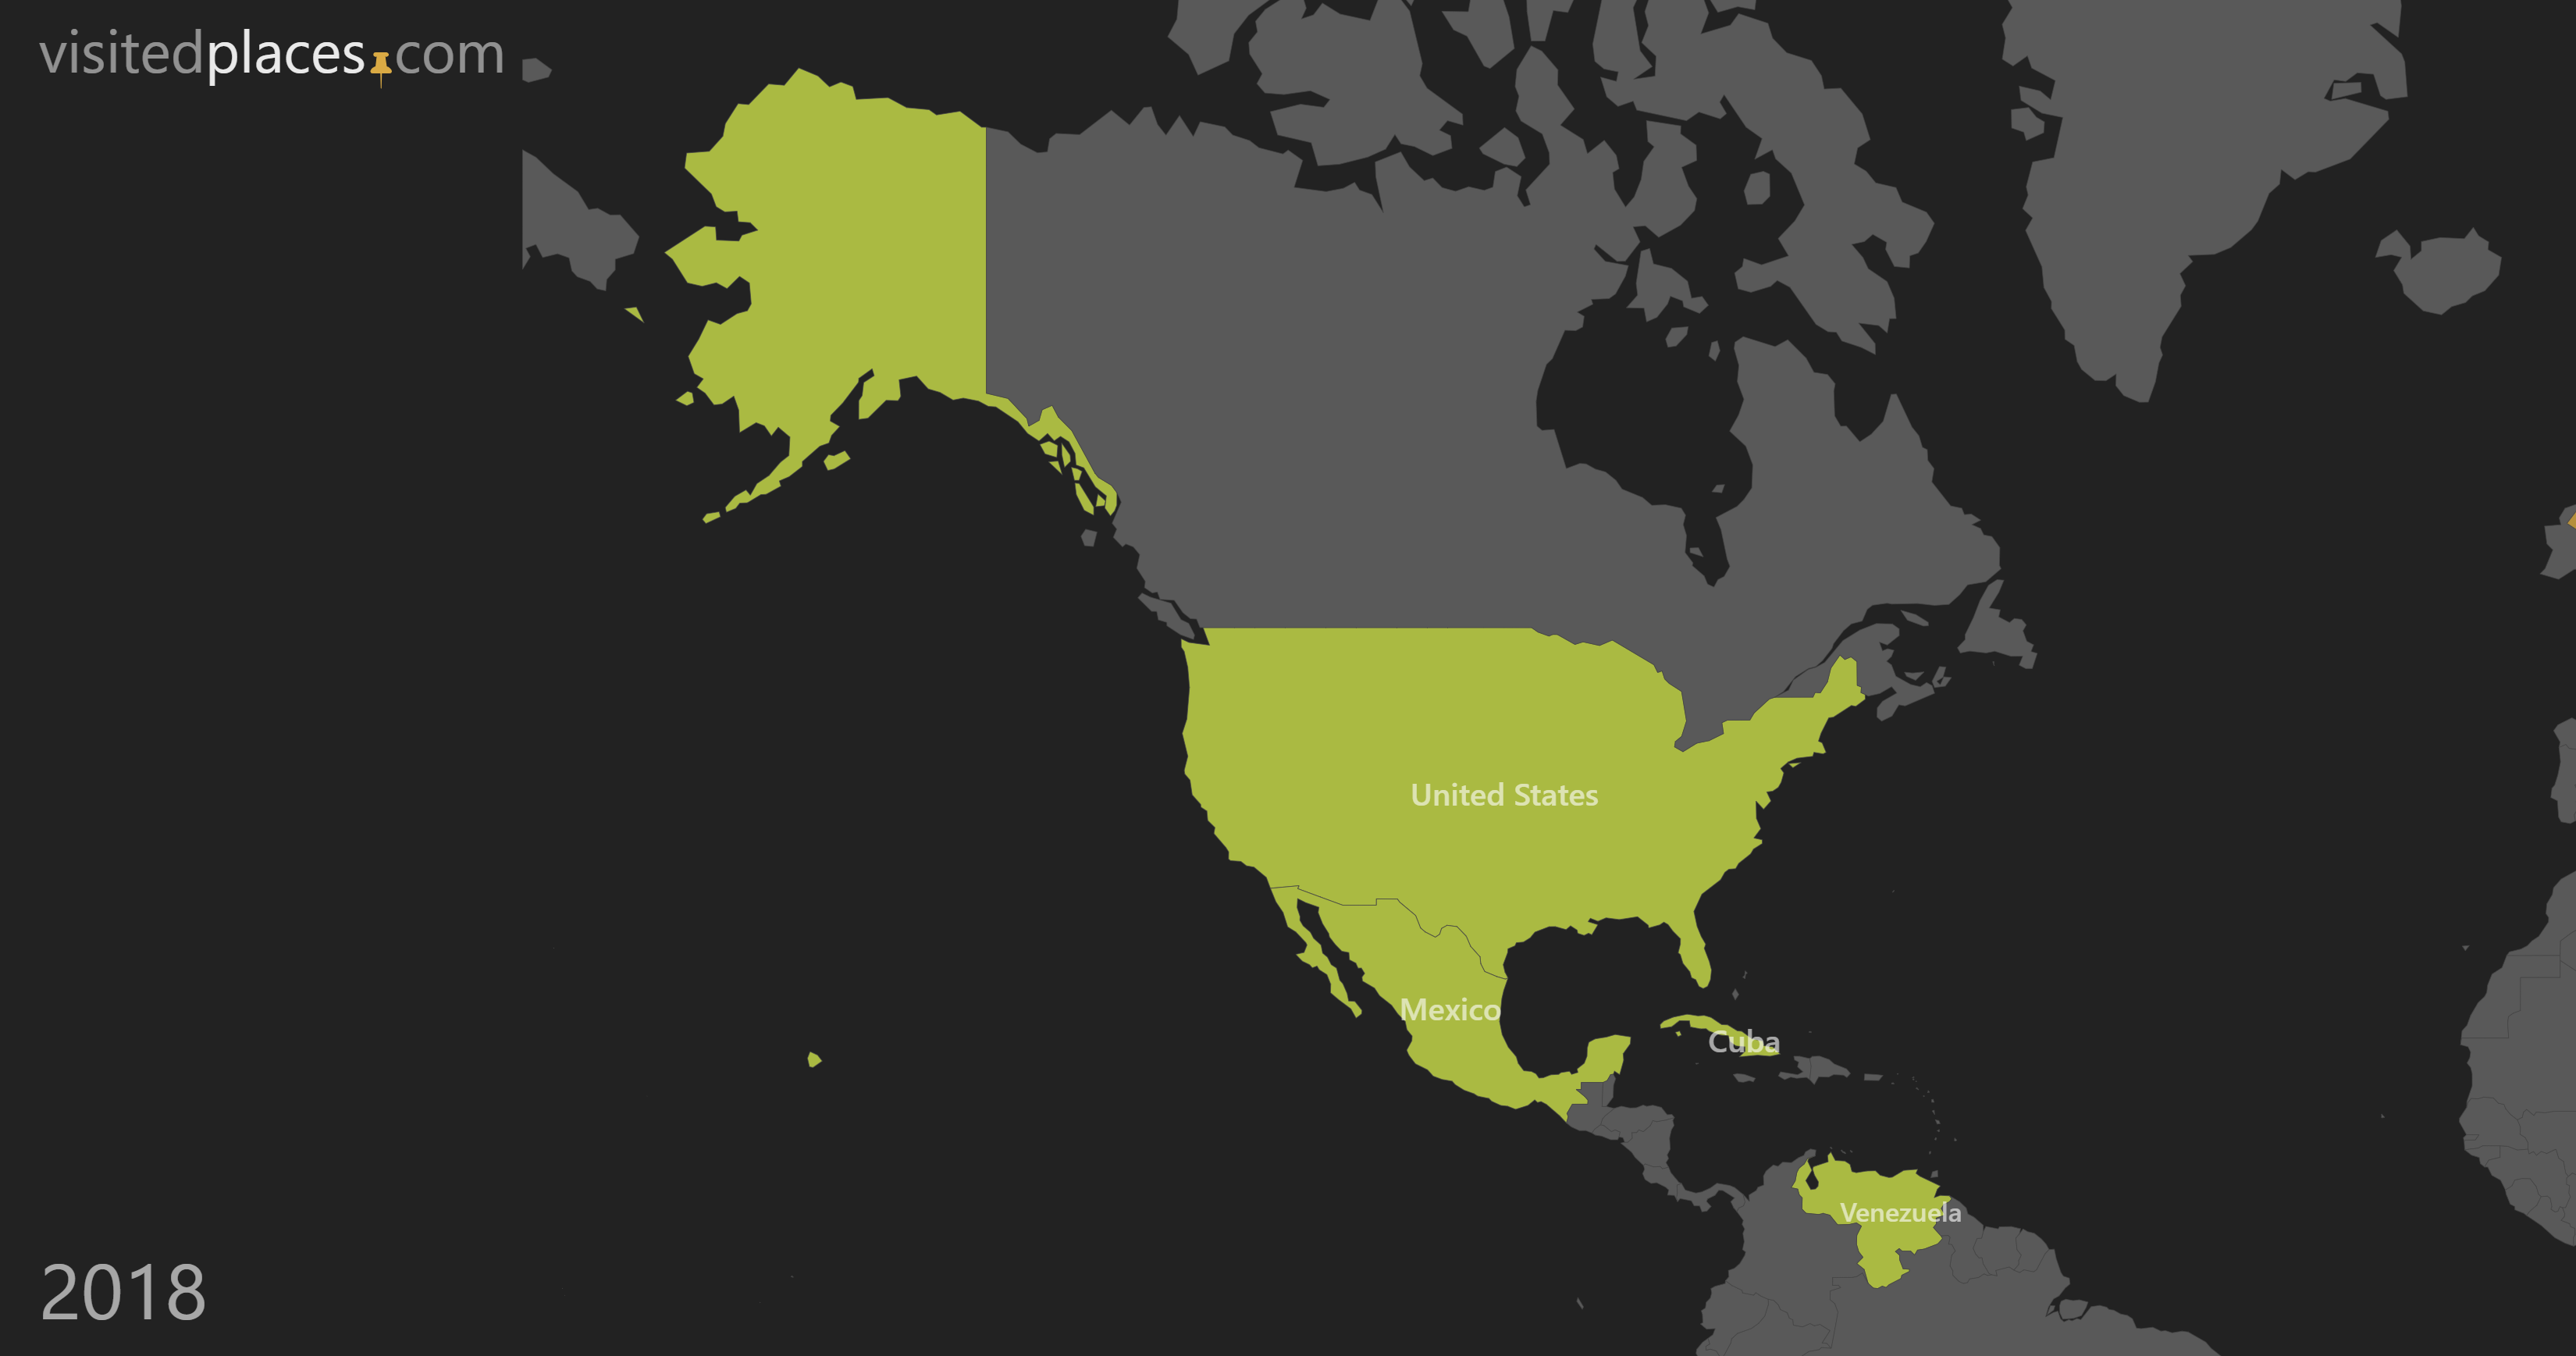
If you plan to create a timeline showing the countries or places you've visited each year or month, or a map displaying the countries you've visited on each continent with a visually appealing animation, you will need to add more steps..
We recommend starting with a first step in which only your home country is selected. Then, click on the button, enter a name (if necessary) for the step, and add all the countries or places you've visited. Repeat this process as many times as needed. You can adjust the order of your steps or delete a step using the icons next to the step name field.
Zooming
In some cases, you may not need a full view map at the beginning or end of your animation. For this, we have added a  button, which saves the current map position and zoom level. This will be used as the initial position from which the map will animate to the first step, and also at the end when all steps will be shown.
If you want to create a nice animation that zooms in on the selected countries or places, you have two options in the Animation settings: "zoom to area of the step" and "zoom to area of all visited places."
A more flexible option is to manually zoom and pan to the area where you want your step zoom and position to be, and then click on the  icon on the top-right of the map. This will save your position. If a position is saved for the step, you will see a
  button next to the save icon. Clicking on this button will delete the saved position, and the map will either not zoom at all or will use your animation settings' "auto zoom method."
Final step
After the animation is completed, the map will either zoom out to a full view or to your home position, if you previously saved it using the button. If you're using the orthographic projection and haven't set a home position, the map will zoom out to display the full globe, which will continuously spin to show all the places you've visited."
Settings
In the settings panel, you can adjust the appearance of your map. Certain settings, such as projection or the option to enable/disable "water," are only available when editing the world map and are not possible with country maps.
Choose one of the available projections. If you want the map to resemble a globe, select the orthographic projection. Although the Mercator projection is one of the most commonly used projections in maps, it distorts areas close to the poles. The orthographic projection is great for animations, but you may not see all your visited places at once since some of them will be on the other side of the globe.
Your home country/place will be automatically marked based on your location. However, since you might be traveling while making a map, you can change it to any other country or place.
You can choose from several available themes.
In the map size drop-down menu, you will find a preset of sizes for various platforms.
You can enable/disable water (only when editing the world map), graticules, and place names.
Map size (resolution)
Use the "Map size" dropdown in settings to select a pre-defined dimensions of the map.
You can also resize the map by dragging its the lower-right corner.
Please note, the while map will be resized to fit your screen, internally, it will retian the target dimensions and aspect ratio, so that when you share the link, download as an image, or export as a video, it will keep intended width and height.
Animation settings
The animation settings allow you to customize how your map will be animated. The first option is the auto-zoom method, which determines how the map will zoom in on each step. The "Zoom to area of a step" option will zoom in to show all the places in the current step, while "Zoom to area of all visited" will zoom in to show all the places in the current and previous steps.
The "Step play duration" setting allows you to set the duration of each step's animation in milliseconds. For example, setting it to 2500 means that each step will animate for 2.5 seconds.
The "Initial position" setting allows you to set the starting position of the animation relative to the whole animation. A value of 0 means that it will start from the first step, while a value of 1 means that the last step will be shown first.
Finally, the "Auto play animation" option determines whether the animation will start automatically (if it has more than one step) or whether the user needs to click the "play" button to start it.
Sharing the map
The best way to share your map on social media is via provided buttons: .
When you click any of those, we'll generate a snapshot of the currently visible map, and use it when sharing. You will also be able to provide wording for your post.
Sharing the link directly, might use a "generic" image with your post.
Saving the data and settings
There's no way to "save it", but you can bookmark or make a note of the link address. When you edit the map, the link will automatically be updated. Whenever you need to edit your map, you can put it into your browser's address field, and continue editing wherever you left off. The link contains all the information about your map.
Embedding the map
In editor mode, we provide several options to embed the map.
- HTML/JavaScript code: grab a ready-made code which you can use on your.
- IFRAME: grab an
<ifame>code which you can paste into your web page. - Share/oEmbed link: the link can be used to share on social media, or also as an "oEmbed" link. Copy the link and paste it directly into WordPress page/post or any other CMS that supports oEmbed.
Exporting to video and GIF
To export your map animations as a video file or an animated GIF, click the button.
A separate video export page will open.
While you can't edit map settings there, you can set target resolution and a time to add to the end of the video to keep "filming", once the map animations are played out.
To start the export click on either or button.
Video is exported to an industry-standard WEBM format. If you'd like it in some other format, we recommend using CloudConvert which is a free service.